A hopefully helpful hint
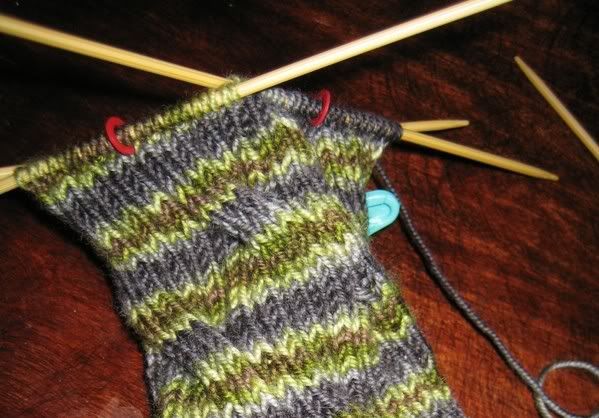
I thought I'd mention a little trick (if you could call it that) I came up with that worked for me to organize my stitches while I was working on the leg/cabled portion of the Inside Out sock. It's nothing fancy, but admittedly it did take me a little while to figure it out. (Or that may have been because Moose was helping me and making me crazy...note to self: don't try and figure out the start of a cable pattern while a kitten is trying to occupy the same space as you.)
I am a big fan of stitch markers to keep things tidy and organized when I am working on a pattern. After having completed my heel and when I was doing my initial set-up for the cables, I tried figuring out how to organize my stitches to better keep track since I'd been using five DPNs (ie, my knitting was distributed on four) thus far to knit the sock. I discovered, however, that it was in fact easier to use just four for the leg, organizationally speaking. I had tried organizing the stitches on four needles but that just wasn't working for me. Since the total stitch count was divisible by 3, it worked better. So I put 24 stitches on each of three needles (keep in mind, I knit the medium size on the pattern, I think it's the same for both?) and a stitch marker in the middle of each 24, so 12 on each side of the marker. This way, each needle with 24 stitches corresponded to one repeat of the chart for the cables. And then, because of the stitch markers, I was able to consider the first 12 stitches were for the first set of cables, and the second group of 12 sts went with the second set of cables.
I know, I'm sure those of you who already knit these are saying, well duh, that's how I did it too. But I thought I'd just share this just in case, since the lightbulb sure didn't go on right away for me! ;o)
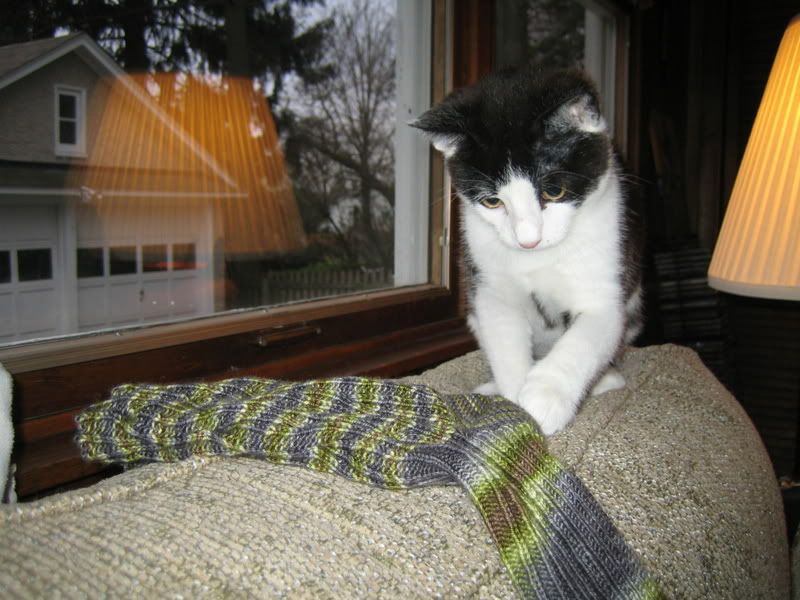
It was actually kind of funny...whenever I moved the sock to take photos of it, he kind of got freaked by it. So here he's looking a little concerned about this thing (but then seconds later he was grabbing at it as I took it away).
Further Updated
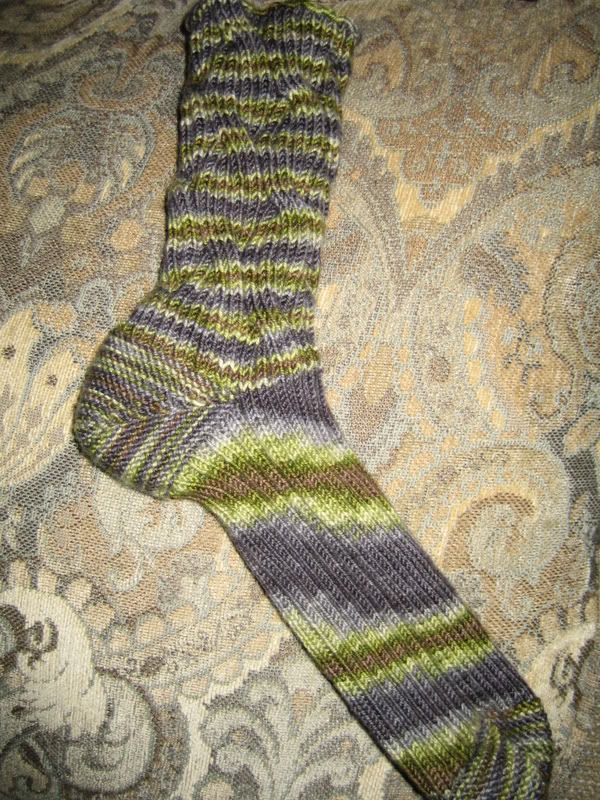
I drafted this post a couple of days ago and time got away from me. I have since started my second sock. I tried the first one on again and decided it fits fine after all, and so I am back on board and excited to finish the pair. This time, the short-row toe went very smoothly, and I even had an easier time picking up my provisional-cast-on stitches (whew...although I'm not mentioning the "fun" had with trying to turn them around after I apparently picked them up backwards). Anyway, it went much better than last time. I am now at the start of the long stretch of foot...but I'll get there. And I also have another new thing I can knit so I can rest my hands from the tiny sock needles, but more on that later. :o)


1 comment:
Good idea on the markers, I am very visual too and I find they help me remember things when I forget to count! Your sock looks good. Moose id growing!
Post a Comment